Unlike AWS, Google Cloud offers free forever compute, meaning you can run websites, mail servers, and custom applications with high uptime, low network latency, and a static IP address for free, indefinitely. Here are the free usage limits and details:
- Instance Type: e2-micro
- 12.5% of 2 vCPUs (25% vCPU)
- RAM: 1 GB
- Disk: 30 GB
- Network Bandwidth: 1 Gbps
- Free Egress: 1 GB (to all countries except Australia and China)
- Static IPs: 1
- Available Regions:
- Oregon:
us-west1 - Iowa:
us-central1 - South Carolina:
us-east1
- Oregon:
Tools
- A Gmail account
- A local computer with an internet connection
Steps
- Select a Region
- Enroll in Google Cloud
- Create a VM Instance
- SSH Into Your VM and Check System Resources
- VM Resource Utilization Monitoring and Alerting
- Billing Monitoring and Alerting
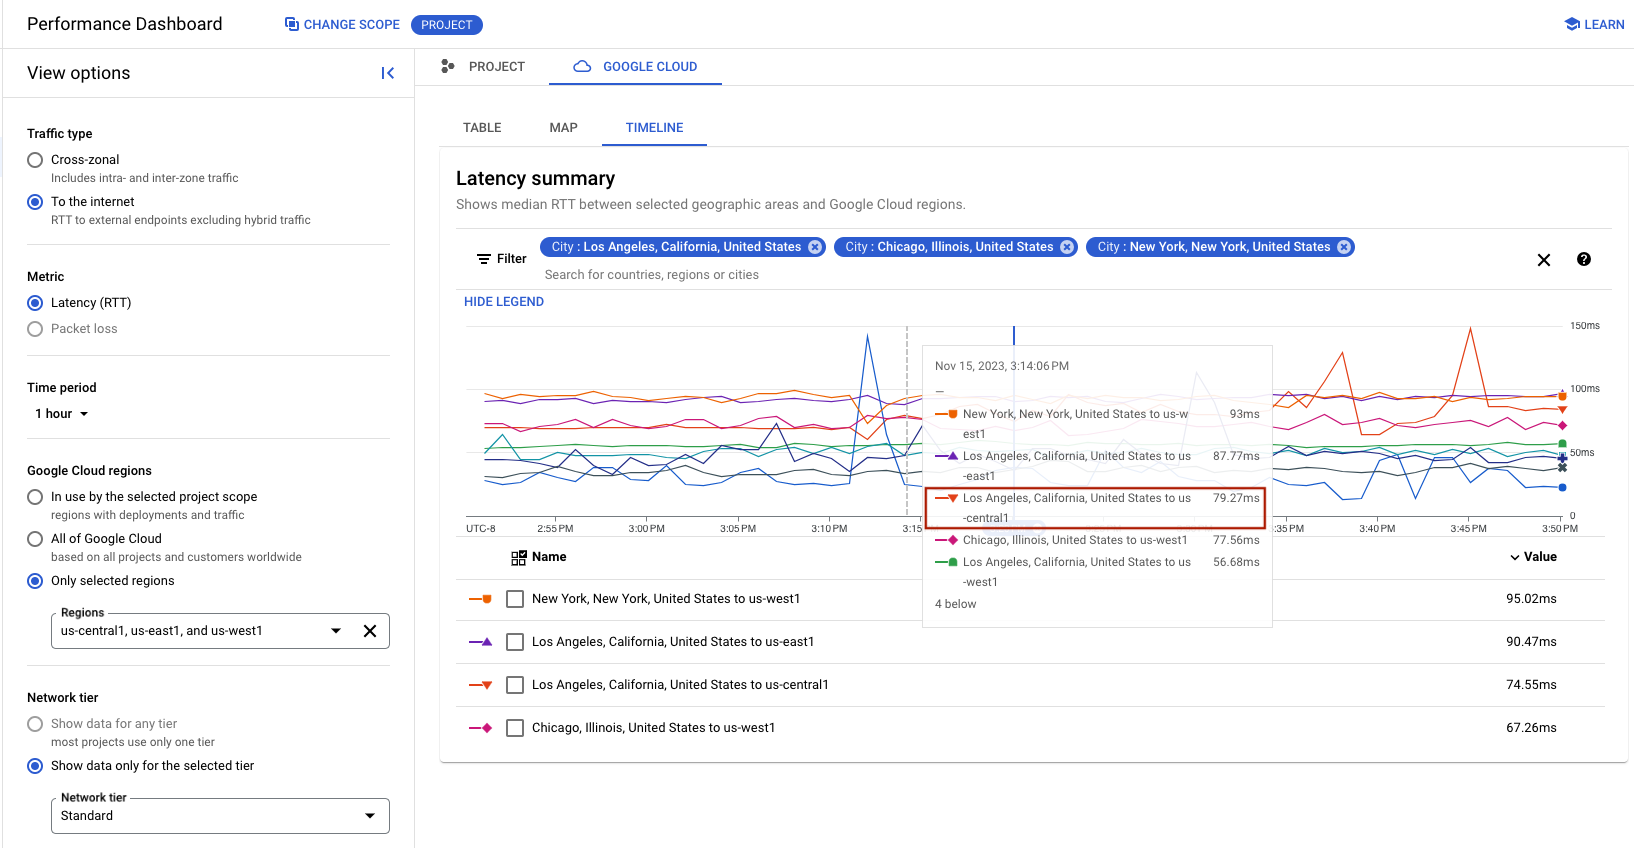
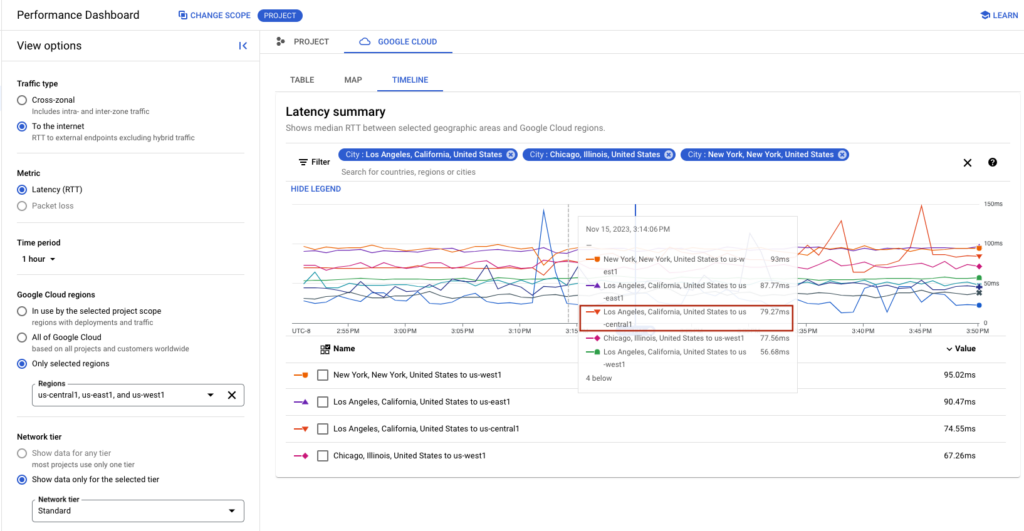
Select A Region
My goal is to have low latency to the entire United States from a single instance. I am choosing us-central-1 because it has the lowest max latency to major cities at ~74.55 ms from us-central-1 to Los Angeles, California. Realtime region-to-region and region-to-internet latency data is provided by Google.
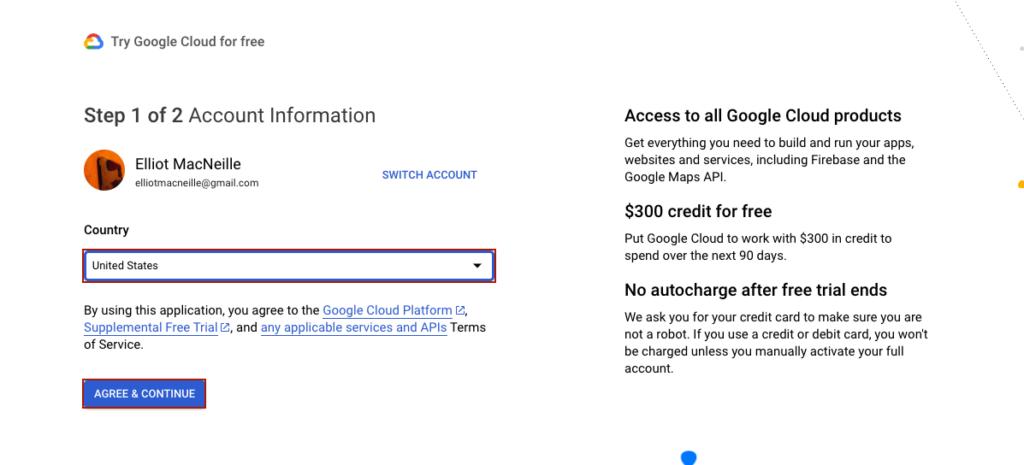
Enroll in Google Cloud
In order to get started, create a Google Gmail account if you do not have one, and go to the Google Cloud Terms of Service Page, select your Country, and press ‘AGREE & CONTINUE’.
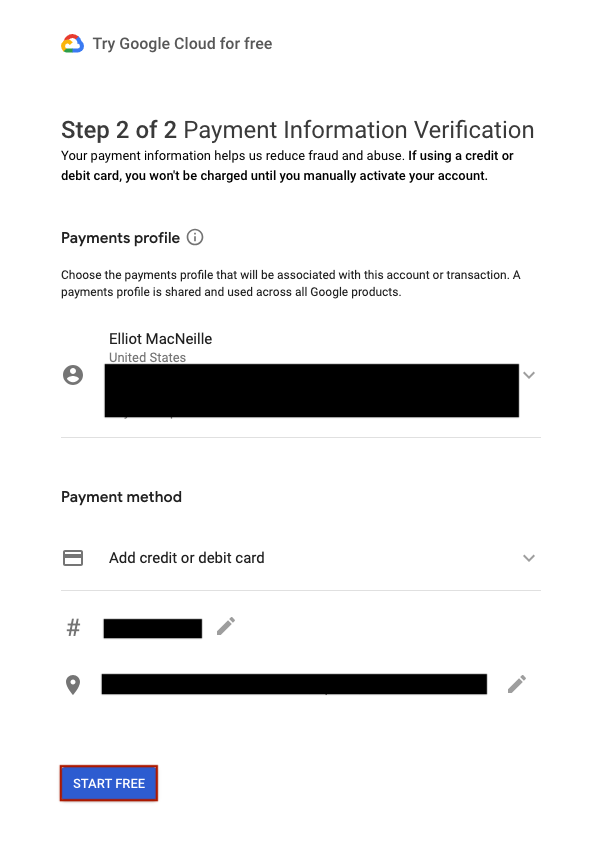
You will be required to input your name, address, and credit card information. When complete, press ‘START FREE’.
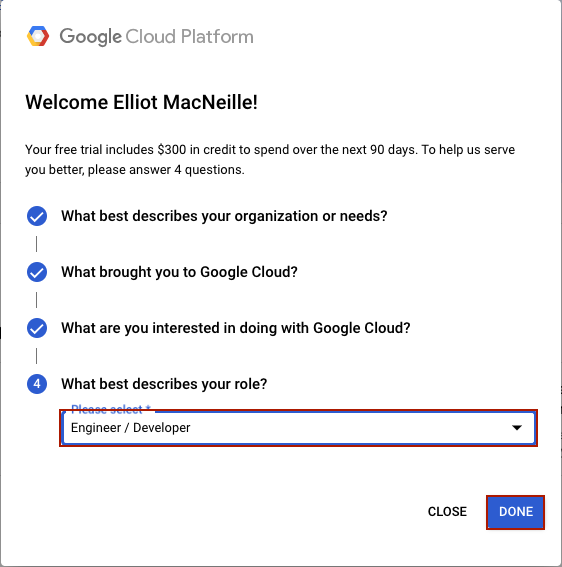
A survey pops up. Go through the questions and press ‘DONE’, or just press ‘CLOSE’.
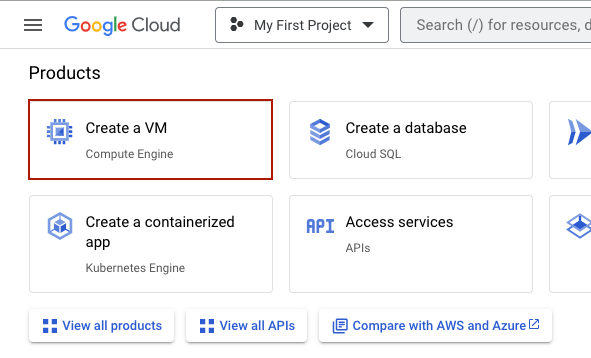
One the next screen, under ‘Products’, select ‘Create a VM’.
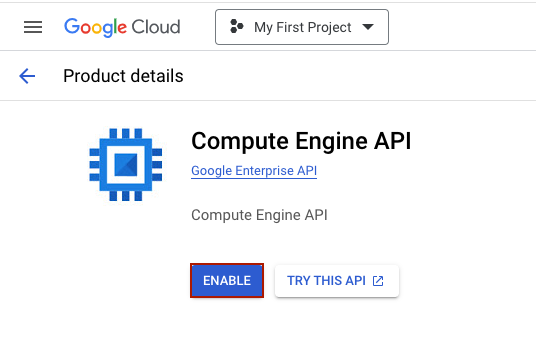
Within Compute Engine API settings click ‘ENABLE’.
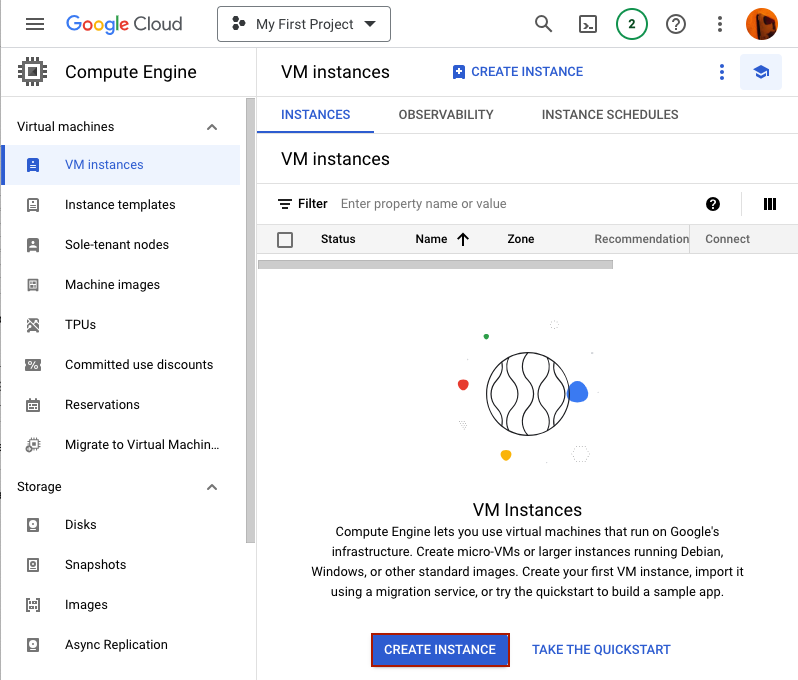
Create a VM Instance
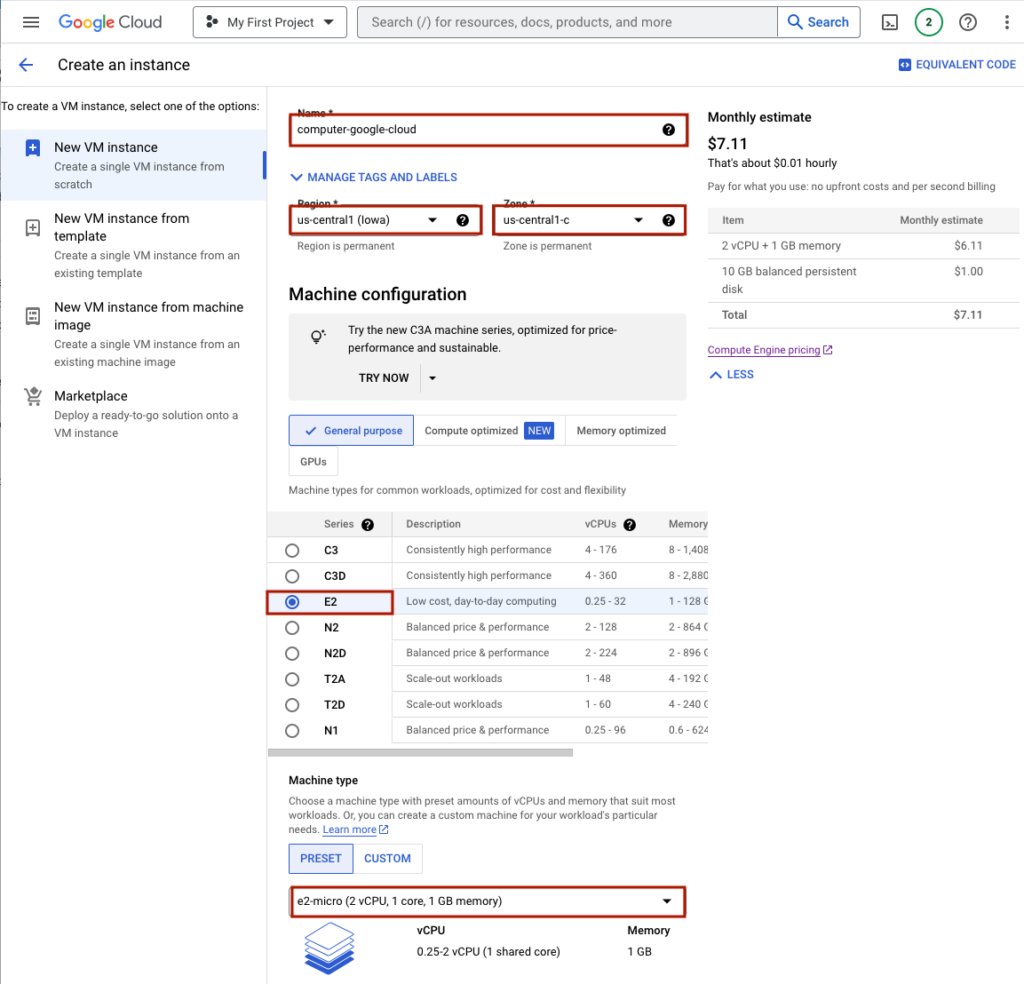
Within VM instances, click ‘CREATE INSTANCE’.
The monthly estimate on the right hand side shows a non-0 dollar amount but fear not, this doesn’t incorporate the free-tier discount that will be applied at billing time. Just be careful to stay within the following restrictions:
- instance type of
e2-micro - boot disk type of ‘Standard persistent disk’
- no more than 30 GB disk
- region of
us-east1,us-central1, orus-west1
Under ‘Name’, give a descriptive hostname. Choose your region, an ‘E2’ Machine type category, and ‘e2-micro’ as the Machine type.
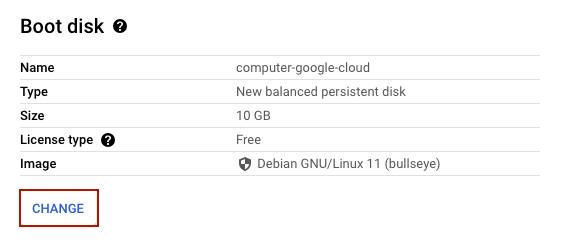
Under ‘Boot disk’ press ‘CHANGE’.
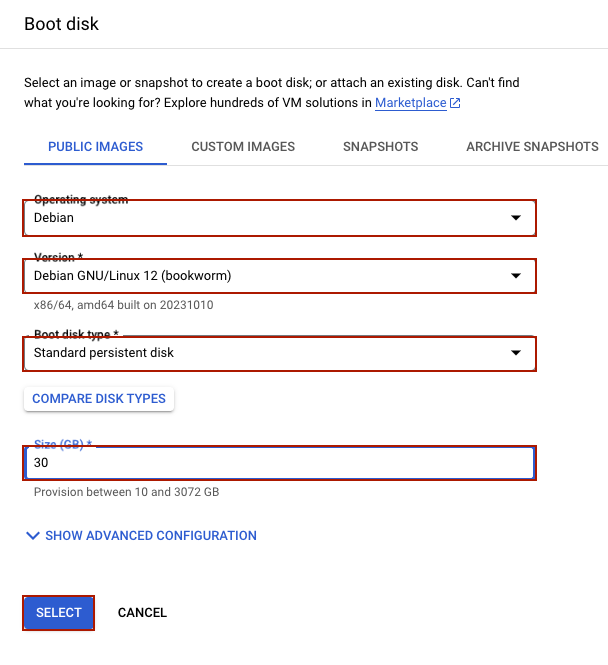
Under ‘Operating System’, choose ‘Debian’, for ‘Version’, choose ‘Debian GNU/Linux 12 (bookworm) x86/64, amd64’. For Boot disk type, choose ‘Standard persistent disk’, and for ‘Size (GB)’, set to 30 GB. Finally, press ‘SELECT’.
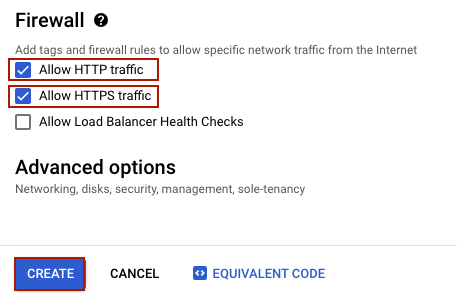
For ‘Firewall’, select ‘Allow HTTP traffic’ and ‘Allow HTTPS traffic’. This will allow us to confirm that we are able to connect externally using the public IP. Finally, press ‘CREATE’.
SSH Into Your VM and Check System Resources
After a short wait you will see the new VM among your VM instances with a green status icon. Copy the External IP to a separate text editor. Finally, press ‘SSH’.

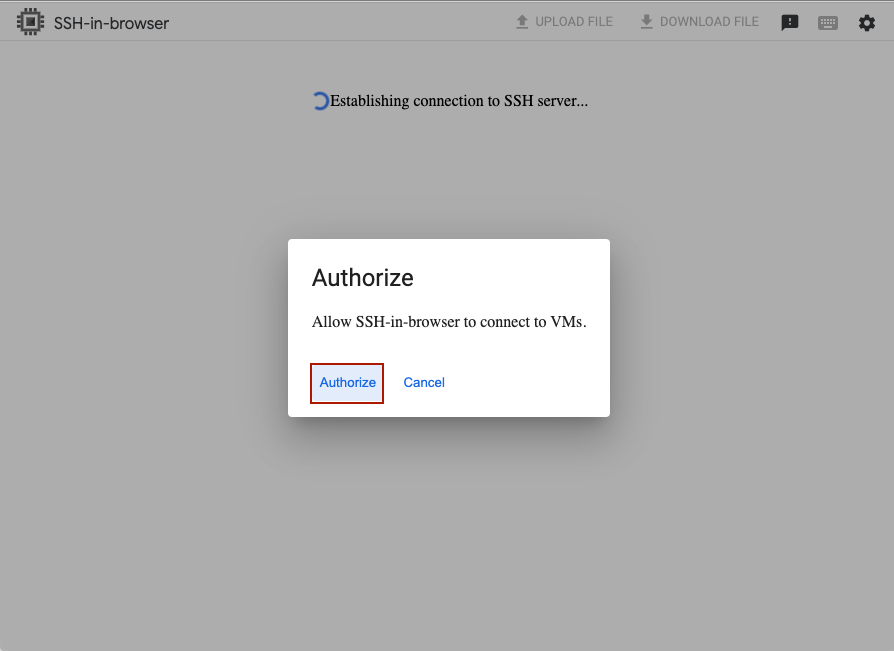
A window will pop up. Click ‘Authorize’ to allow SSH-in-browser to connect to VMs if this is your first time using SSH-in-browser.
You should be looking at a terminal window. Issue these commands to validate system resources:
free -h
df -h
lscpu | grep '^CPU(s)'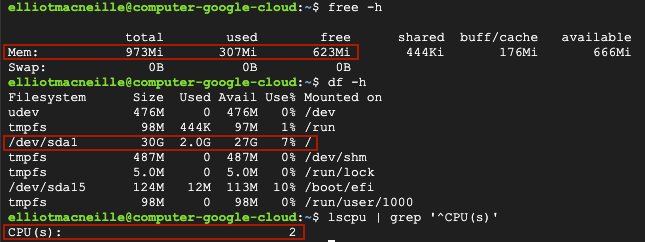
This matches as expected:
- 1 GB of RAM
- 30 GB disk
- 2 CPUs
Validate internet connectivity and start a server listening for inbound HTTP.
curl -I http://example.com
sudo python3 -m http.server 80
And, ping the server from your local computer, running the following:
curl -I http://<Public IP>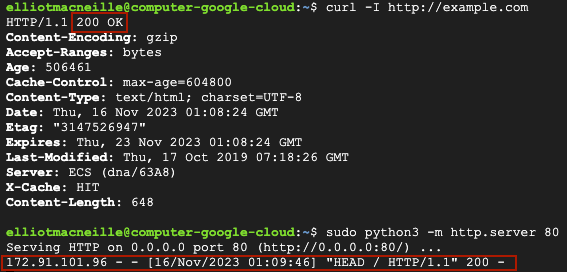
You should see a 200 register in the logs within the Google Cloud Compute VM.
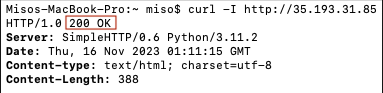
And, you should see a 200 response on your local computer. Press ‘Ctrl + C’ to shut down the server, and close out of the Google Cloud terminal window.
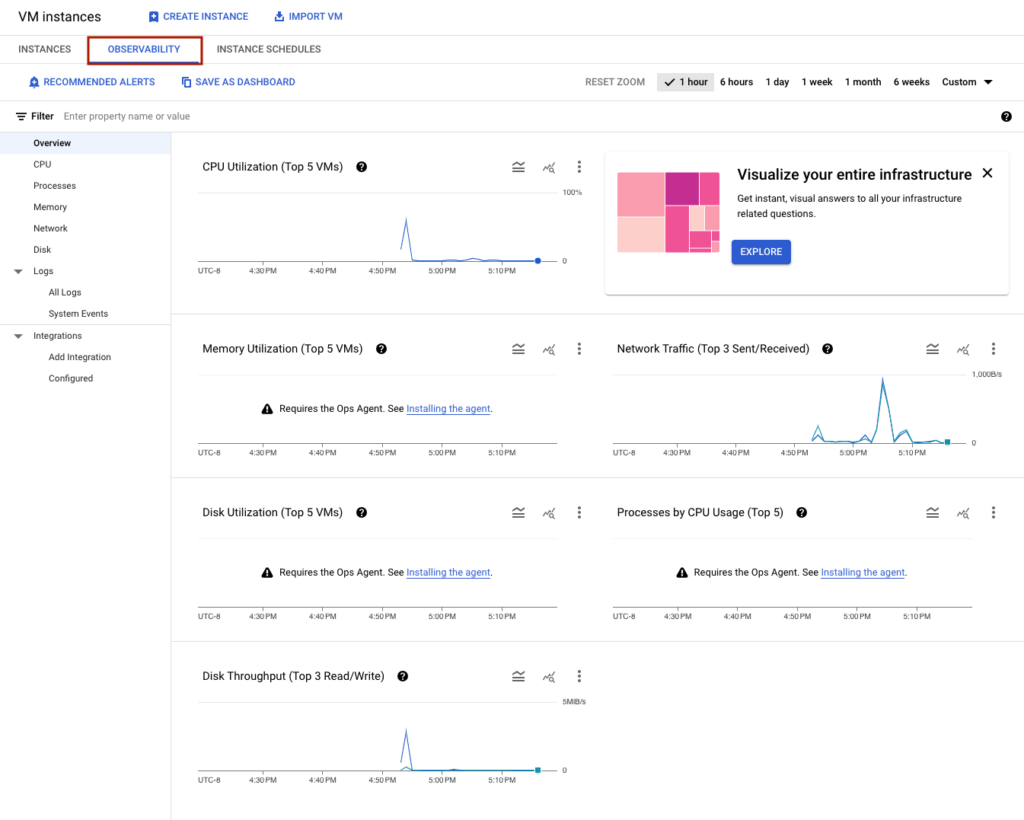
VM Resource Utilization Monitoring and Alerting
Within the Observability tab, we can monitor CPU, Network, Memory, and Disk Utilization, at various time frames.
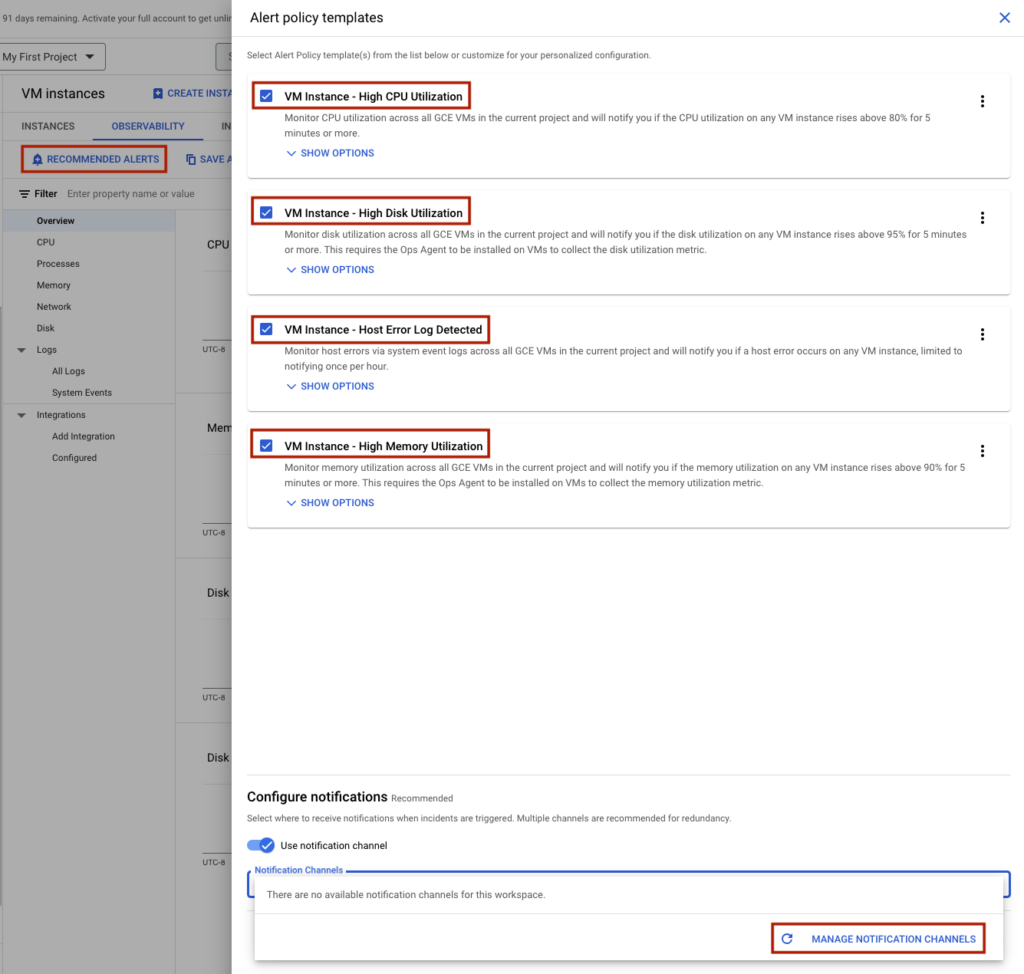
By clicking ‘RECOMMENDED ALERTS’, you can optionally create and subscribe to alerts for excessive CPU, Disk, and Memory Utilization, as well as Error logs. Click ‘MANAGE NOTIFICATION CHANNELS’ to set up a channel for these alerts to reach you.
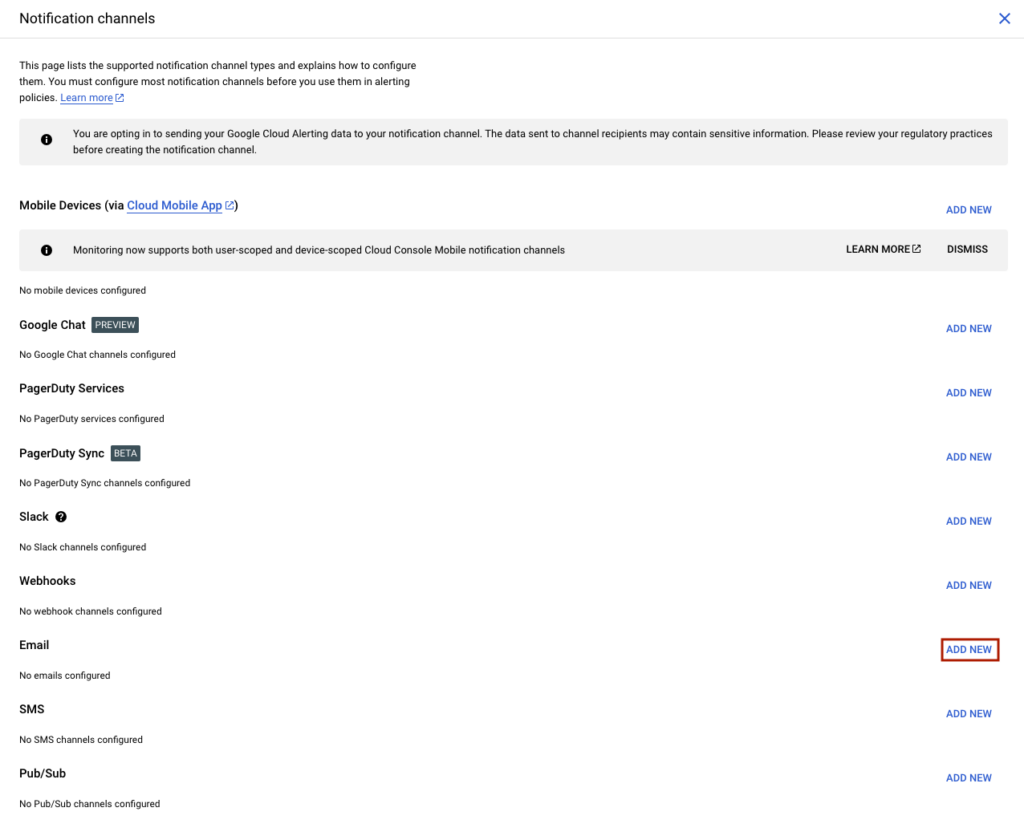
Press ‘ADD NEW’ within the channel of your choice. In this case, I choose ‘Email’.
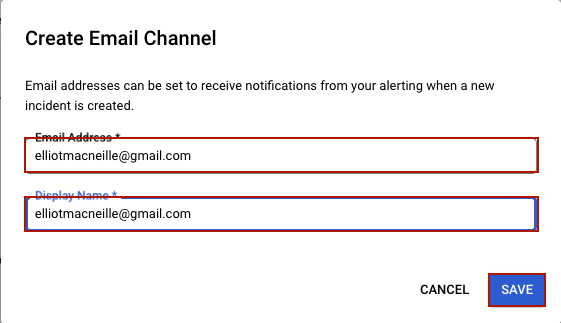
Input your email and a display name and press ‘SAVE’.
Finally, hit ‘X’ in the upper right hand corner twice to exit out.
Billing Monitoring and Alerting
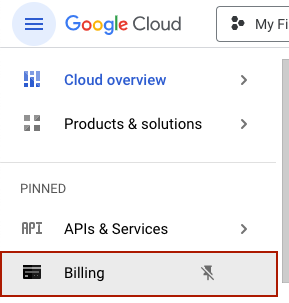
Within the hamburger menu on the upper left side, select ‘Billing’. The data here will verify your cost is $0 and will allow you to set up a Budget Alerts, so you will know right away if you are incurring charges.
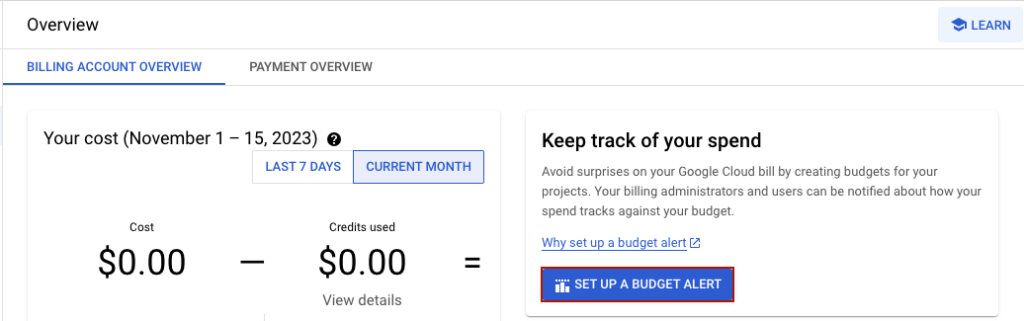
Here you will see your costs incurred. Click ‘SET UP A BUDGET ALERT’.
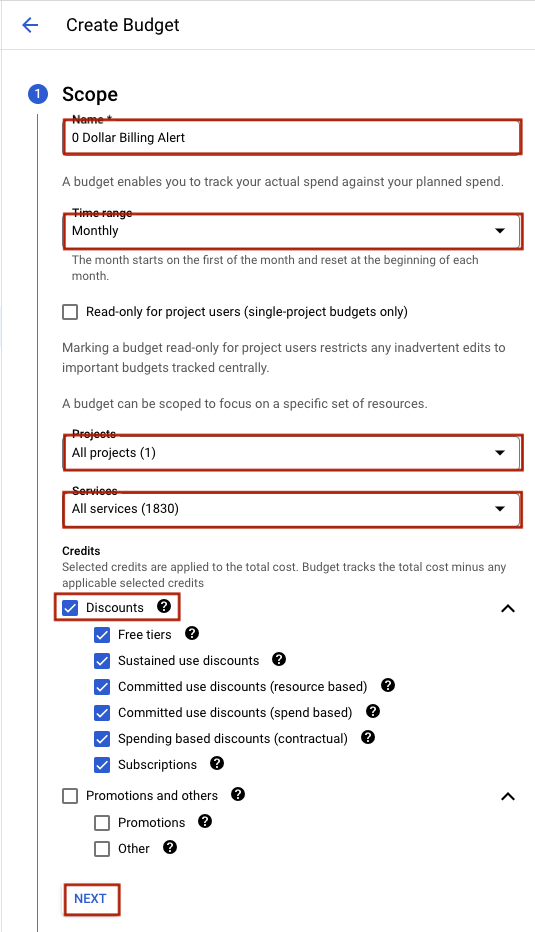
Within ‘Scope’, give a meaningful name like ‘0 Dollar Budget’, apply to all services and projects, and select ‘Discounts’ but not ‘Promotions and others’. This will ensure you know if you are accidentally gobbling up your $300 credit for signing up to Google Cloud. Press ‘NEXT’.
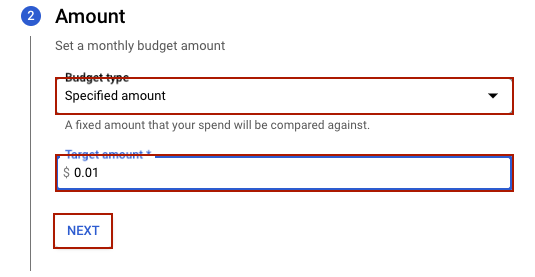
Under ‘Amount’ select ‘Budget type’ of ‘Specified amount’ and ‘Target amount’ of $0.01. Press ‘NEXT’ to continue.
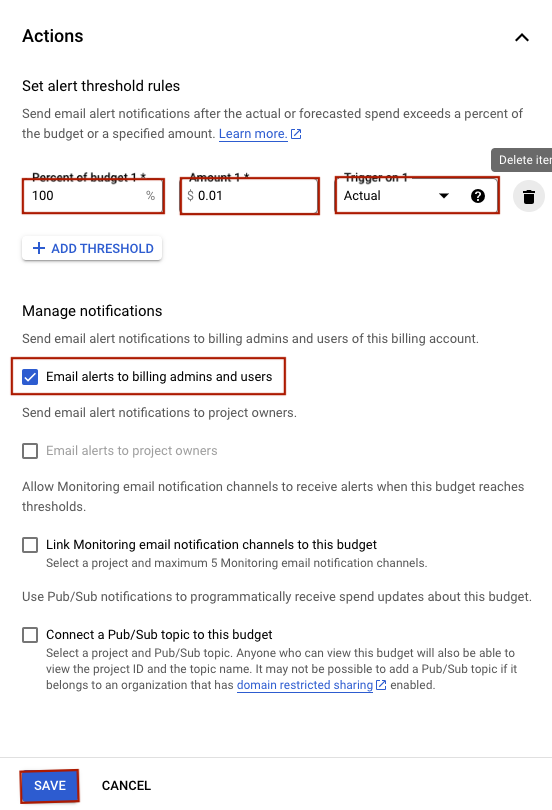
Under ‘Actions’ and delete the 2nd and third threshold by clicking the trash can on the right of the Trigger field, so the only threshold is 100% of actual. Forecasted thresholds do not always incorporate discounts, so Google will notify you of spend even though the free-tier discount is in place. Finally, press ‘FINISH’ to launch the budget alert.
Now you have a Google Cloud free tier VM set up and ready to run the app or service of your choice. You can go on to install a mail server, a web server, or an application and run it indefinitely, absolutely free. Happy coding!
Leave a Reply